Login to the Web Interface of your NSX-V Manager

The credentials are set up when you deploy the OVA.
You'll be brought to the NSX-V Manager home screen, which contains some very useful information in the upper right hand corner you can see the IP, the version, the hostname, and the username you have currently logged in with:

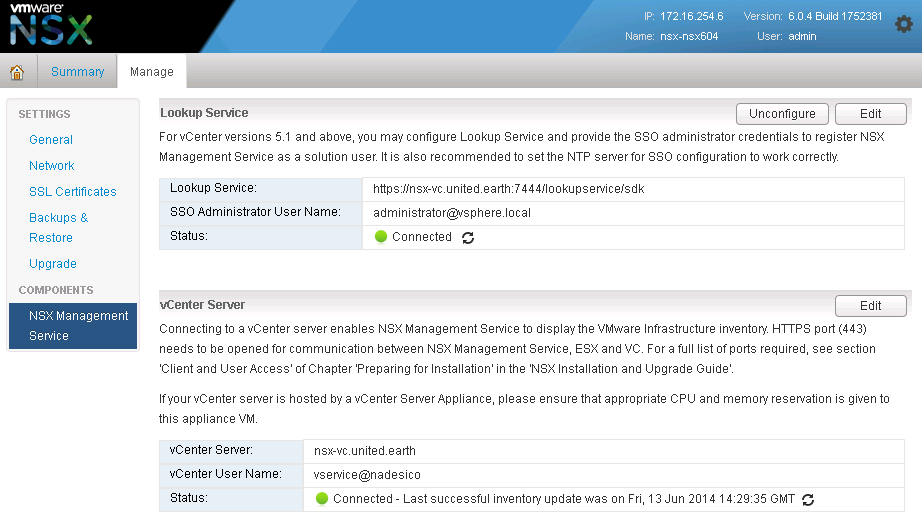
Once the vCenter Server and Lookup Service the next step is to set up Configuration Backups. You can backup to either FTP, or SFTP locations.
On the left hand side bar click on "Backups & Restore", or the "Backups & Restore" button from the NSX-V Home screen. Click on the Change button for FTP Server Settings. All fields do need to be populated in this screen unlike vShield / vCloud Networking & Security your backups do require a passphrase now. I would recommend schedule daily backups. I suggest to exclude Audit logs, System Events, Flow Records to keep the size of the backups minimal. Of course your individual needs may be different than mine so do not exclude information that you may depend on.

Your NSX-V Manager is now set up, but wait there's MORE!
We need to grant permissions to users. If you followed my recommendation you used a service account to register NSX-V Manager to your vCenter server. This will be the only vCenter level account that can actively manager the Networking & Security section in vCenter. In the next step we'll grant access to a vCenter user.
This time, login to your vCenter Web Client using the service account we used to register NSX-V to vCenter. Once authenticated and logged in Select the "Networking & Security" section, and then Select the "NSX Managers" under the "Networking & Security Inventory" section. I've highlighted this area in Yellow in my screenshot:
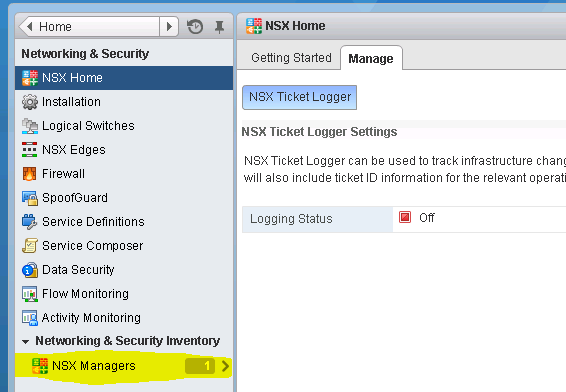
Once you click on this it will bring you to a list of the NSX Managers. Select the IP Address associated with your NSX-V Manager, and then click on the "Manage" Tab, and then select the "Users" subsection of this tab. From here you can add additional administrators to NSX-V. These users need to already be defined in vCenter.

Once you have added the accounts that you wish to allow to access NSX-V to this list they will have access to the "Networking & Security" module based upon the Role granted to the user. Now log out from the vCenter server as you were connected with the service account!
Next we'll explore setting up NSX Controllers & VXLAN
No comments:
Post a Comment